


User Manual for the NewIndex Data Collection Center
Procedure for First-Time Use:
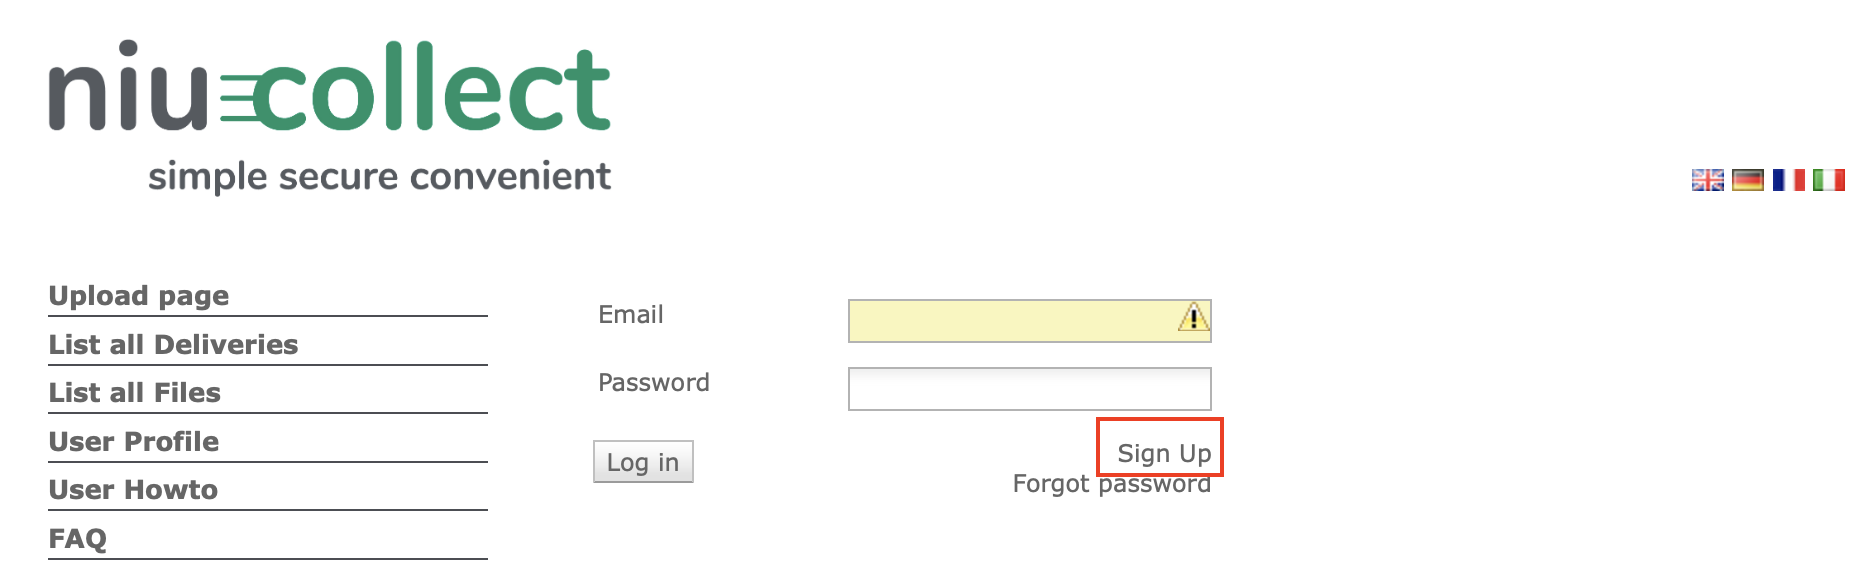
Click on "Sign Up":
Select your cantonal organization, enter the email address, and a strong password and verify the password. Then click on "Sign Up":
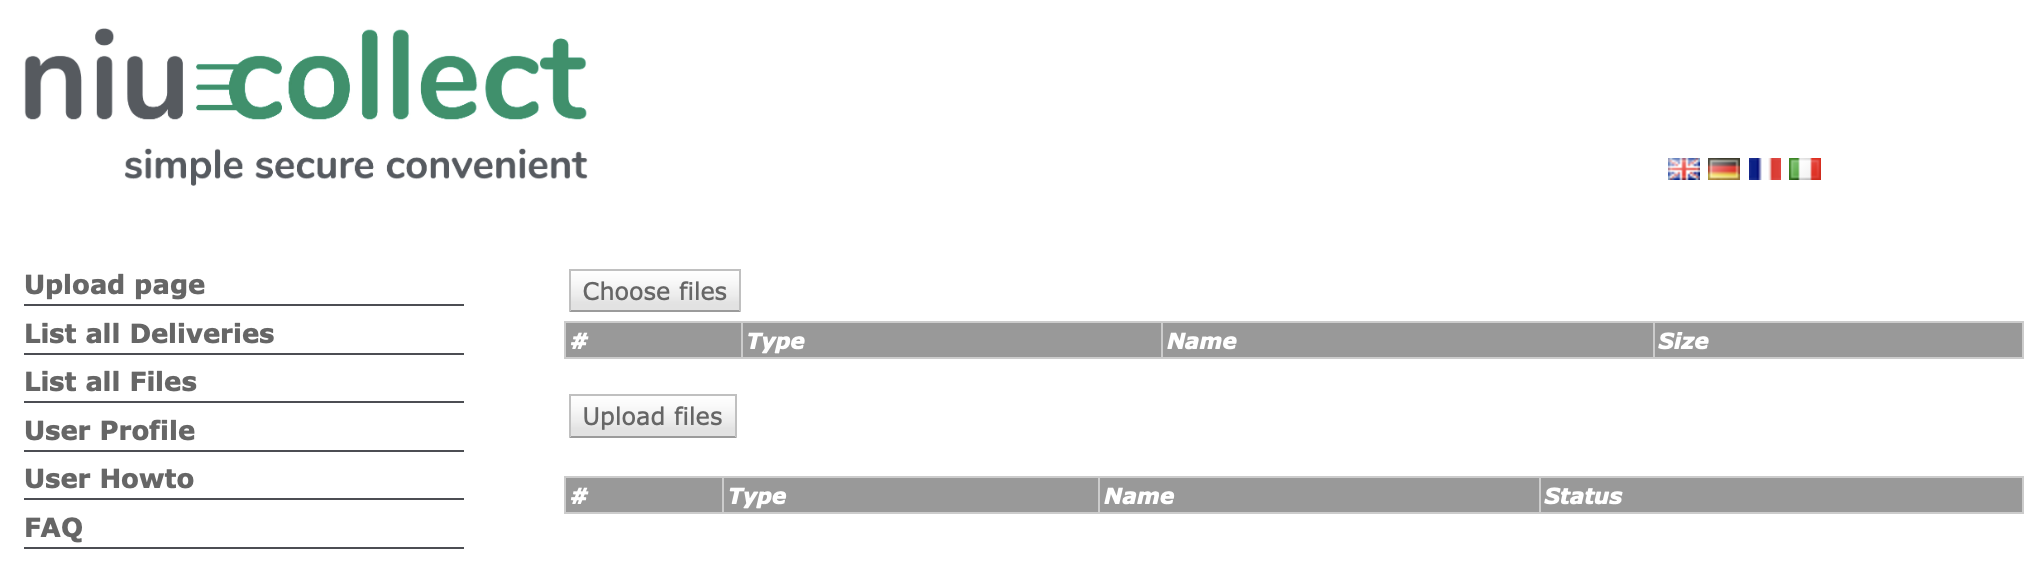
The following screen will appear:

Select and upload invoices:
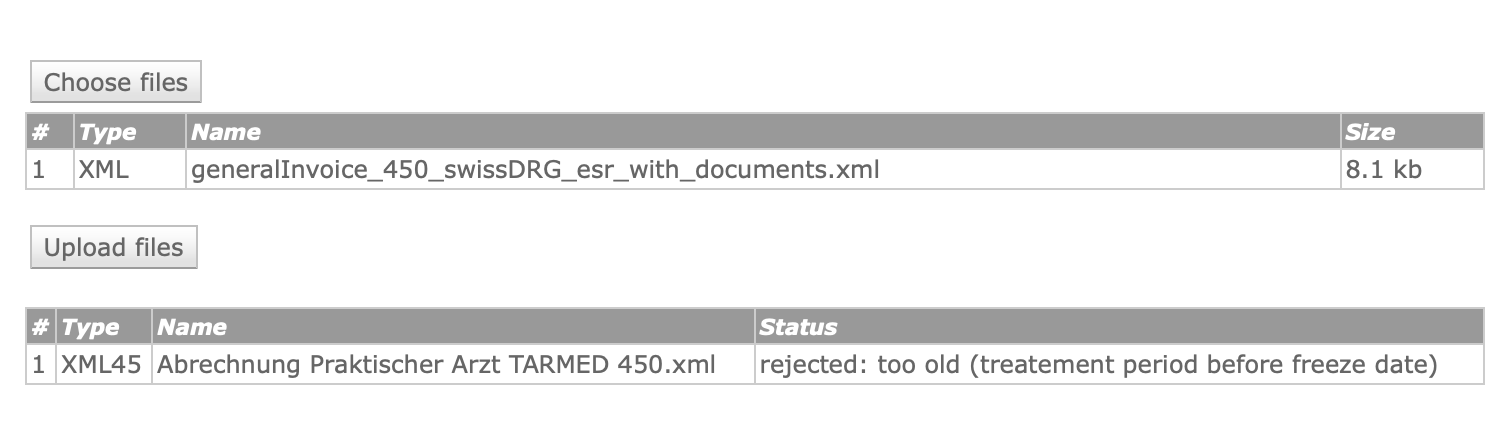
Click on "Choose Files"
Select the XML invoices on your computer to be uploaded, if you do not know where the invoices are located, please contact the manufacturer of your practice software.
Click on "Upload Files"
The files will be uploaded and anonymized
The following screen will appear:
Procedure for repeated use:
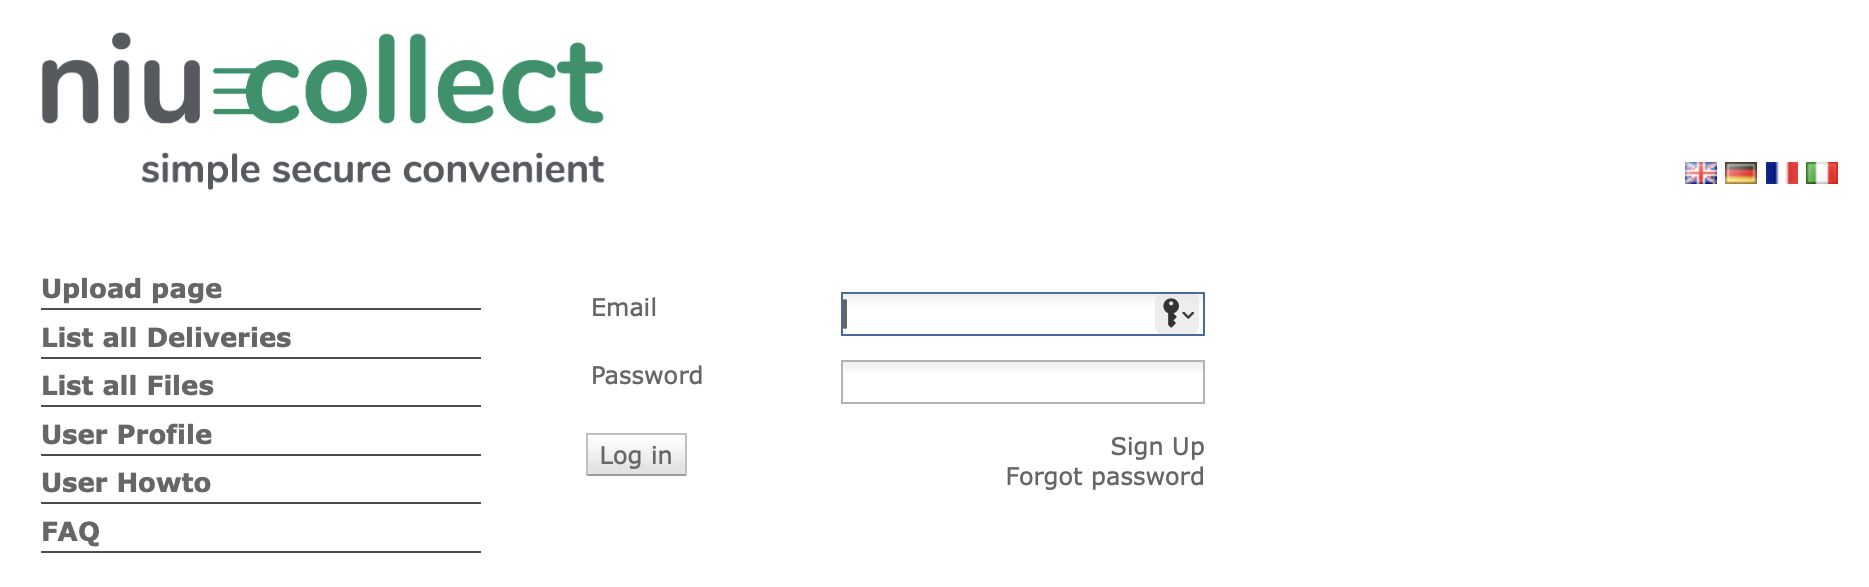
Enter the email address and password and click on "Log in":
The following screen will appear:
The procedure for selecting and uploading invoices is similar to the one in the first use

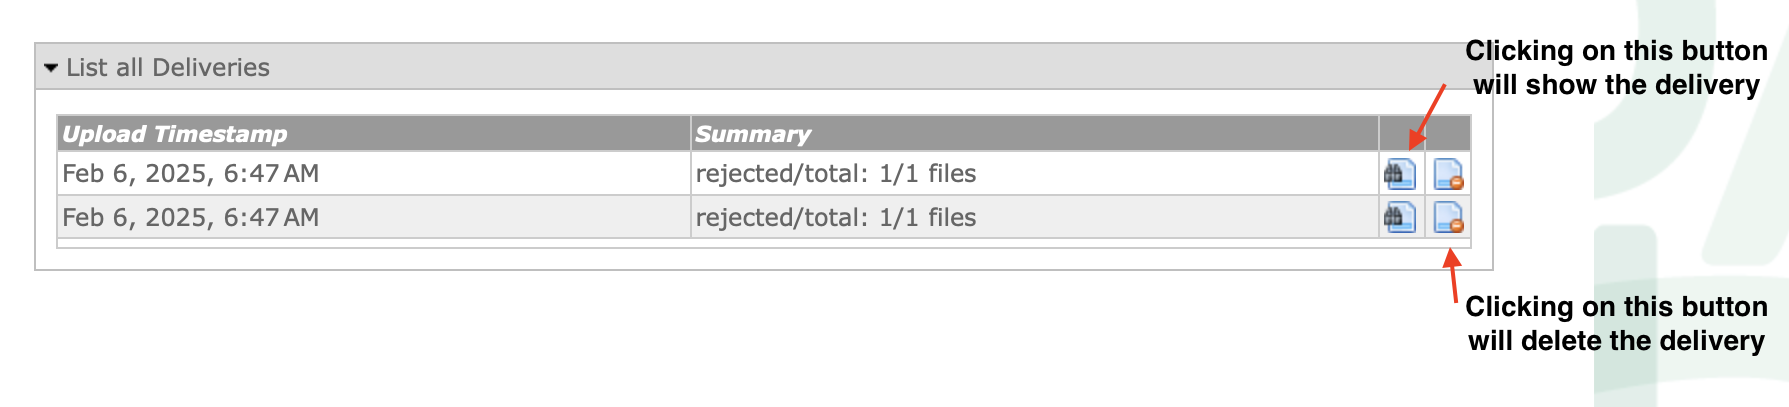
Find all deliveries:
Under " All Deliveries," the user has the option to find and edit past invoice deliveries:
Find all invoices:
Under " All Invoices," you can view and edit uploaded invoices
ATTENTION: As long as the invoices are not fed into the TrustX system, they can be deleted. The transmission of invoices to the TrustX system takes place once a week from Tuesday to Wednesday at 00:01 AM. Depending on the amount of data, the transmission can take several hours. It is therefore possible, for example, that invoices can still be deleted at 00:45 AM.
Supported XML Formats:
XML v4.3, XML v4.4, XML v4.5 and XML v5.0,
XML invoices can also be uploaded as zipped files (.zip)
Support:
Please contact your cantonal medical society first in case of any questions
If you cannot find the XML invoices on your computer, please contact the manufacturer of your practice software.
2FA Authenticator:
The Central Data Collection Point "niucollect" allows to use two-factor authentication (2FA) to protect your account.
To enable 2FA, open the menu "User Profile" and select the option "Authenticator" in the 2FA selection menu. Then click on save.
You are now forwarded to a page with a QR code. Please scan the barcode with your Authenticator app on your phone.
The secret is now safely stored in your Authenticator app. Only after this, click on "Accept" to complete the setup.
You will now be automatically logged out. When you log in now, you will be asked to enter the 6-digit code generated by your Authenticator app as well as the password.
Please note that aborting the setup process (or not clicking accept) will invalidate the secret and you will have to repeat the setup process.
Mail Authenticator Code:
As an alternative to an Authenticator app, you can sign in using a secure login link sent to you by email.
To do this, open the menu "User Profile" and select the option "Mail" in the 2FA selection menu and save the settings.
Upon saving you will be logged out and when you log in again, the second step of the login process will be replaced by a "Send Mail" button.
When clicking on this button, you will receive an email with a link. Clicking on it will forward you to the Code-submit page with the login code filled in.
Clicking on submit will log you in. Please note that the link is valid for one use! Trying to use it again will result in an error.